
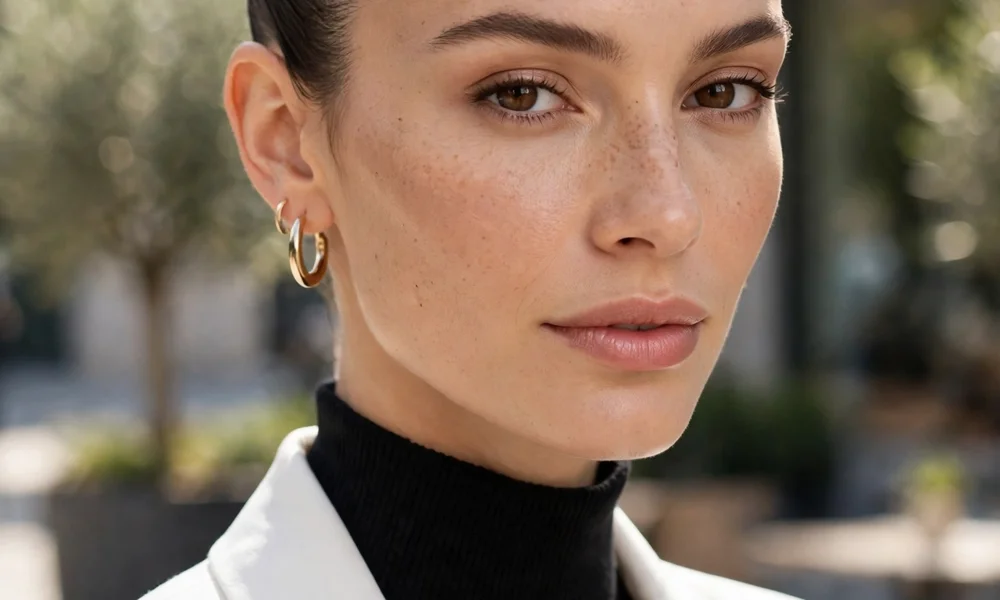
Why a Sleek Bun Works for a Baddie Look
A sleek bun is one of the most reliable baddie hairstyles because it is clean, polished, and works with almost any outfit. It keeps hair out of your face, shows off your makeup and earrings, and looks intentional even when the rest of the outfit is simple. A leather jacket, a winter coat, or a dress all look more finished with a sleek bun.
The key to a good sleek bun is not pulling hair as tight as possible. It is preparation, smooth brushing, and the right products for your hair type. When hair is prepared well, the bun stays neat for hours without causing pain or breakage.
This tutorial covers the full routine, step by step, for straight, wavy, and curly hair. It also covers high, mid, and low bun placements, edge styling, and how to make the style last through a long day, a night out, or a content shoot.
What You Need Before You Start
You do not need professional tools for a sleek bun, but a few basics make a large difference. Start with a paddle brush or a boar bristle brush for smoothing, a fine-tooth comb for parting and edges, and strong hair ties that match your hair colour.
You will also need bobby pins, a small amount of gel or edge control, and a light hairspray or smoothing serum. For very thick or long hair, a hair donut or extra pins can help the bun keep its shape, but they are not required for every version.
Work with hair that is slightly damp or freshly washed and dried, depending on your hair type. Very wet hair can be harder to smooth evenly, while completely dry, flyaway hair may need a little serum or water to settle. Aim for hair that is mostly dry, smooth, and easy to brush.
Step 1: Prep Your Hair
Start by brushing your hair fully, from roots to ends, to remove tangles. If your hair is dry or frizzy, apply a small amount of smoothing serum or leave-in conditioner, focusing on the lengths and ends, not the roots.
For curly or coily hair, a light gel or cream can help smooth the hair without making it stiff. Apply it in sections, brush through, and let it settle for a minute before you start pulling hair back. This step prevents bumps and makes the final bun look much cleaner.
If you want a middle part, create it now with a fine-tooth comb. If you want a side part or no part, brush all hair back evenly. Keep the part clean, because a sleek bun shows the part clearly.
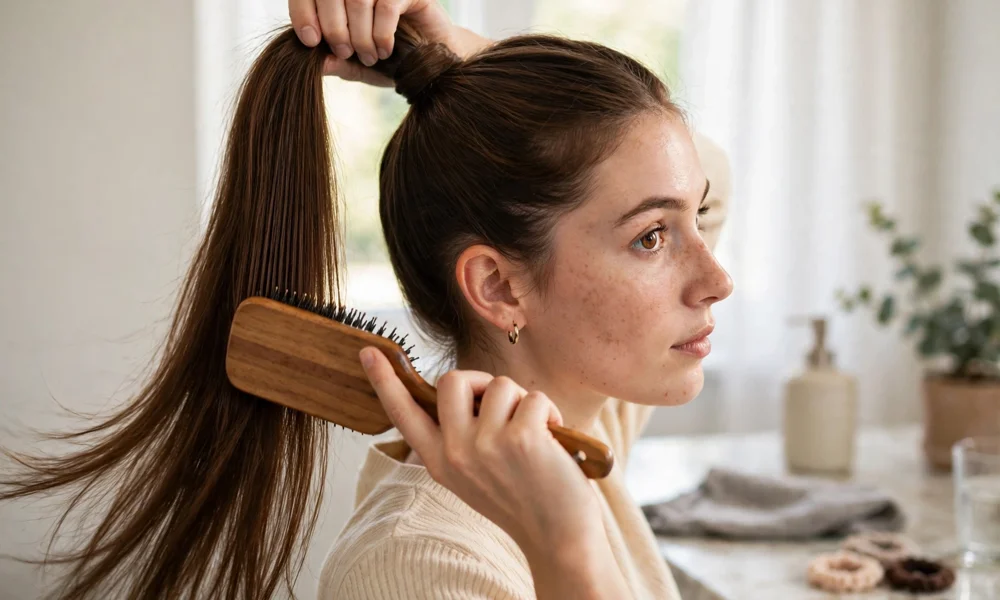
Step 2: Brush Hair Into a Ponytail
Decide on your bun placement before you start brushing. A high bun sits at the crown and looks bold and lifted. A mid bun sits at the back of the head and works for most occasions. A low bun sits at the nape and looks elegant, especially with a dress or coat.
Brush hair upward, backward, or downward toward your chosen placement, using smooth, even strokes. Hold the hair in one hand, brush with the other, and check in a mirror for bumps on the sides and back. Smooth any bumps with the brush or a fine-tooth comb.
Once the hair is smooth, secure it with a strong hair tie. Wrap the tie enough times to hold firmly, but not so tightly that it hurts. A bun that is too tight can cause headaches and, over time, breakage at the hairline.
Step 3: Smooth the Edges
Edges make the difference between a neat bun and a truly sleek bun. Use a small amount of edge control or gel on a toothbrush, edge brush, or fine-tooth comb, and gently smooth baby hairs along the hairline.
Work in small sections, and avoid using too much product at once. A thin, even layer looks clean, while a thick layer can look heavy and flake as it dries. For a softer look, leave a few face-framing pieces loose, but keep the main hairline smooth.
If you have flyaways on the top of your head, smooth them with a light spray of hairspray on the brush, then brush over them once. This keeps the top of the head flat without making hair stiff.
Step 4: Twist and Wrap the Bun
Take the ponytail and twist it gently in one direction. The twist should be firm enough to hold, but not so tight that the bun becomes very small or hard to pin.
Wrap the twisted hair around the base of the ponytail, forming a round bun shape. For a classic sleek bun, keep the bun compact and close to the head. For a slightly softer look, you can loosen the twist a little before wrapping.
Tuck the ends under the bun as you wrap, and pin them in place. Use bobby pins that match your hair colour, and insert them with the wavy side against your head for a stronger hold.
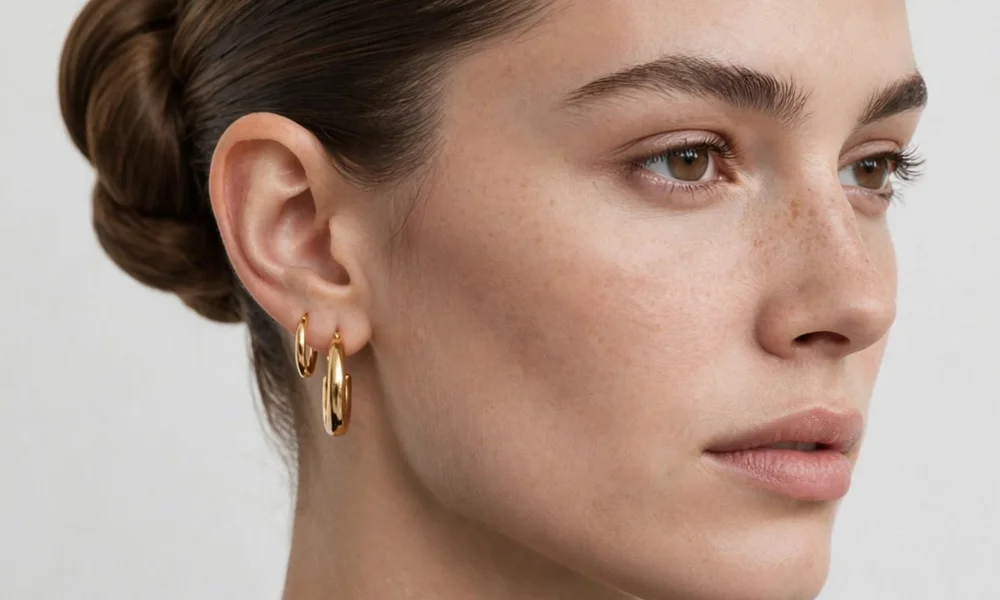
Step 5: Pin and Set the Bun
Pin the bun at four points: top, bottom, left, and right. Then add extra pins wherever the bun feels loose. Check the shape in a mirror from the front, sides, and back, and adjust any uneven sections before you set it.
Finish with a light mist of hairspray, held about 20 centimetres from your head. Avoid a heavy spray, which can make the bun look stiff and dull. A light hold spray keeps flyaways down while keeping the hair looking natural.
If you are going out for a long day, carry two extra bobby pins in your bag. A quick pin check after a few hours is easier than redoing the whole bun.
Sleek Bun Variations
A high sleek bun is the boldest version. It lifts the face, works well with statement earrings, and pairs beautifully with a leather jacket or a winter coat. Keep the bun compact and the edges clean for the strongest effect.
A mid sleek bun is the most versatile. It works for work, university, dinners, and casual plans, and it suits most face shapes. It also works well with chunky boots and a coat, because the whole outfit stays balanced.
A low sleek bun is elegant and calm. It works well with dresses, scarves, and long coats, and it is a good choice for formal plans or cold weather, when a high bun under a hood or hat can be less practical.
For a softer baddie version, you can leave two thin face-framing pieces loose at the front, or add a middle part with clean edges. Keep the rest of the bun sleek, so the soft pieces look intentional rather than messy.
Sleek Bun for Different Hair Types
For straight hair, the main challenge is flyaways and a bun that slips. Use a strong hair tie, a light gel at the roots, and enough pins to hold the bun. A small amount of texture spray in the ponytail can also help the bun grip better.
For wavy hair, brush hair while it is slightly damp, then smooth with serum or light gel. This reduces frizz and helps the waves lie flat against the head, which is essential for a sleek finish.
For curly and coily hair, work in sections and use a brush with gel or cream to smooth each section before gathering it. A silk scarf tied around the edges for ten minutes can help set a smooth hairline, especially if you want the bun to last all day.
For thick hair, use two hair ties for extra hold, and more pins than you think you need. A donut can help shape a large bun, but it is optional. For fine hair, backcomb the ponytail very lightly before wrapping, or use a small donut to add volume without making the bun look heavy.
How to Make a Sleek Bun Last All Day
Preparation matters more than hairspray. A clean brush-out, smooth edges, and a firm but comfortable ponytail base will last longer than a bun held together only by spray.
Avoid touching the bun often, because hands add frizz and loosen pins. If you wear a hat or hood in winter, choose one that does not press directly on the bun, or remove the hat carefully and smooth the edges again.
For a night out, set the bun with a light spray and carry extra pins. For a content shoot, check the bun in photos from different angles, because a bun that looks perfect from the front can look uneven from the side.
What to Wear With a Sleek Bun
A sleek bun shows your face, makeup, and earrings, so it pairs well with bold makeup and simple, clean outfits. A matte base and defined brows work beautifully with this hairstyle, and the oily skin matte routine on this site explains how to keep makeup looking fresh for longer.
For outfits, a sleek bun works with leather jackets, winter coats, chunky boots, and dresses. It keeps the whole look polished without competing with the outfit. For winter layering ideas, the winter baddie outfits guide on this site shows how coats, boots, and scarves work with a clean hairstyle.
Keep accessories simple and intentional. Hoops, a clean necklace, or a statement earring pair well with a sleek bun, but too many accessories at once can distract from the clean lines of the hairstyle.
3 Mistakes to Avoid
First, pulling the bun too tight. A very tight bun can hurt, cause headaches, and damage the hairline over time. Aim for firm and smooth, not painful.
Second, using too much gel or edge control. A thick layer can flake, look heavy, and make hair stiff. Start with a small amount and add more only where needed.
Third, skipping the brush-out and pin check. A bun built on tangled hair, or pinned only in one place, will loosen quickly. Take two extra minutes to brush, smooth, and pin at several points.
FAQs
How long does a sleek bun take?
A basic sleek bun usually takes 10 to 20 minutes, depending on hair length and thickness. With practice, and hair already brushed and prepped, it can take under 10 minutes. Curly or very thick hair may take a little longer, especially for edge smoothing.
Can I do a sleek bun on curly hair?
Yes. Work in sections with gel or cream, brush each section smooth, and gather hair carefully. A silk scarf around the edges for ten minutes can help set a clean hairline, and extra pins will keep the bun secure.
How do I keep my sleek bun from falling out?
Use a strong hair tie, pin the bun at several points, and finish with a light hairspray. Avoid a very heavy bun on a weak tie, and carry two extra bobby pins for a quick fix during the day.
Is a sleek bun bad for my hair?
Not if it is done correctly. Avoid pulling it too tight every day, vary your hairstyles, use soft hair ties, and remove pins gently. If you feel pain or see breakage at the hairline, loosen the style and give your hair a break.