
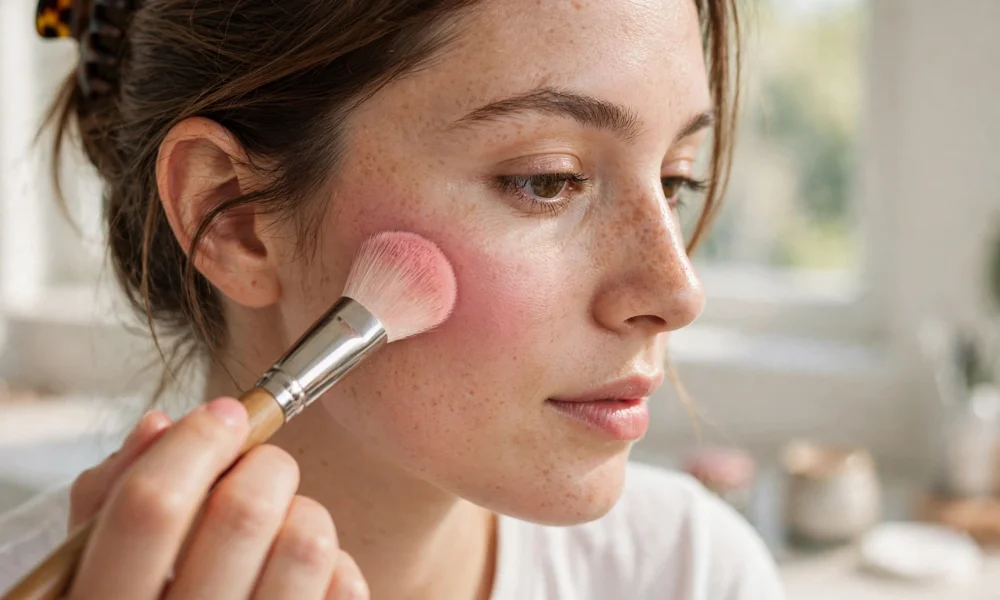
Why Blush Placement Matters for a Baddie Look
Blush placement is one of the most powerful tools for a baddie makeup look, because where you place blush changes the shape of your face, adds warmth, and makes your makeup look intentional. It works for everyday makeup, dates, nights out, and content shoots, and it pairs beautifully with a bold lip, defined brows, and false lashes.
A good blush placement is not about applying as much blush as possible. It is about placement, blending, and balance: blush placed in the right spot, blended softly, and balanced with the rest of your makeup. When the placement and blending are right, blush looks fresh and confident, not patchy or overdone.
This tutorial gives you five baddie blush placements, plus how to choose the right blush, how to blend it, and common mistakes to avoid. All of them use techniques you can practice at home, with products you may already own.
How to Choose the Right Blush
Start with formula. A powder blush works best for oily skin, because it sets makeup and controls shine. A cream blush works best for dry skin, because it blends easily and looks dewy. A liquid blush works well for a natural, skin-like finish.
Colour matters. A warm peach blush works beautifully for warm skin tones, while a soft pink blush works well for cool skin tones. A burgundy or berry blush creates a bolder, night-friendly look, while a nude blush creates a softer, everyday finish.
Finish matters. A matte blush looks more natural and lasts longer on oily skin, while a shimmer blush adds glow and dimension. Choose a matte blush for daytime, and a shimmer blush for nights out, when you want extra radiance.
Tool matters. A fluffy blush brush blends powder blush softly, while your fingers or a damp sponge blend cream and liquid blush more naturally. Choose a tool that feels comfortable and gives you control over placement.
Look 1: Lifted Blush Placement
This is the classic baddie blush placement, and the best place to start. Apply blush high on the cheekbones, angled upward toward the temples, rather than on the apples of the cheeks.
Keep the blush light at first, building up gradually, so it looks lifted and fresh, rather than heavy. Blend upward and outward, so the blush creates a lifted, sculpted effect.
For a night version, add a touch of highlighter above the blush, on the high points of the cheekbones, for extra dimension. The oily skin matte routine on this site explains how to keep base makeup matte, so blush stays fresh and does not slide during the day.
Look 2: Sun-Kissed Blush Placement
A sun-kissed blush placement creates a warm, natural look that works for daytime and summer makeup. Apply blush across the nose and high on the cheeks, where the sun would naturally hit your face.
Keep the blush soft and blended, so it looks like a natural flush, rather than a harsh line. Use a warm peach or terracotta blush, for a sun-kissed warmth that complements the skin.
For a softer version, apply blush lightly across the nose and cheeks, and blend well, so the colour looks seamless and natural. This placement works beautifully for no-makeup makeup looks and casual dates.
Look 3: Soft Glam Blush Placement
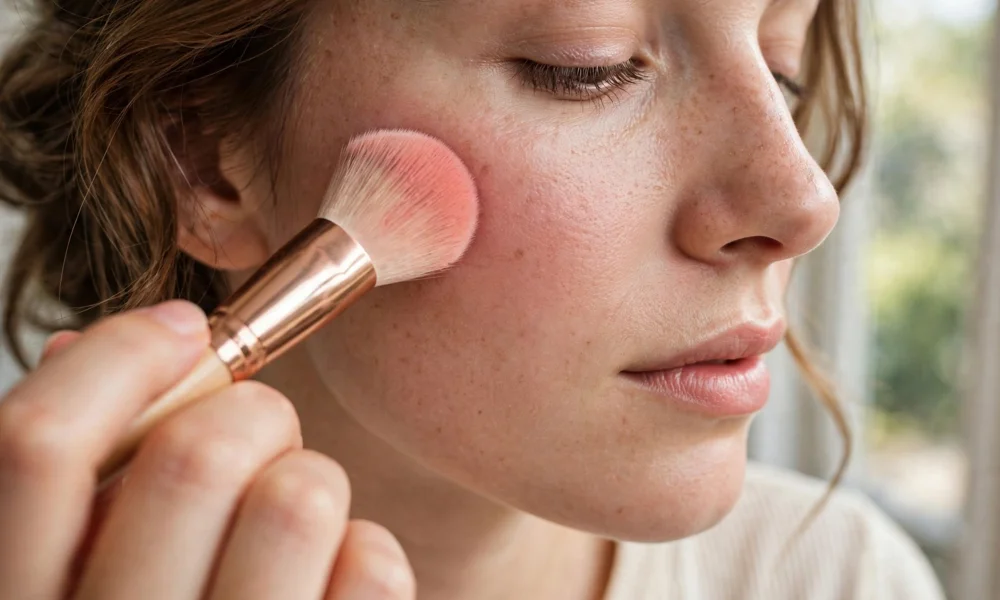
A soft glam blush placement creates a polished, elegant look that works for dinners and dates. Apply blush on the cheekbones, blended slightly toward the ears, with a soft, diffused edge.
Keep the blush medium in intensity, so it adds warmth and dimension without overpowering the rest of your makeup. Pair it with a bold lip and defined brows, for a balanced, glamorous finish.
For a night version, layer a cream blush under a powder blush, for longer wear and deeper colour. This layering technique helps blush last through a full evening.
Look 4: Draping Blush Placement
Draping is a baddie blush technique where blush is applied from the cheekbones up toward the temples, creating a sculpted, lifted look. Apply blush in a sweeping motion, from the apples of the cheeks upward, blending well.
Keep the blush blended and seamless, so it looks like a natural contour and blush combined, rather than two separate products. Use a fluffy brush for powder blush, or your fingers for cream blush, to blend the edges softly.
For a bolder version, use a deeper blush shade for draping, and finish with a light highlighter on the cheekbones, for extra dimension and glow.
Look 5: Under-Eye Blush Placement
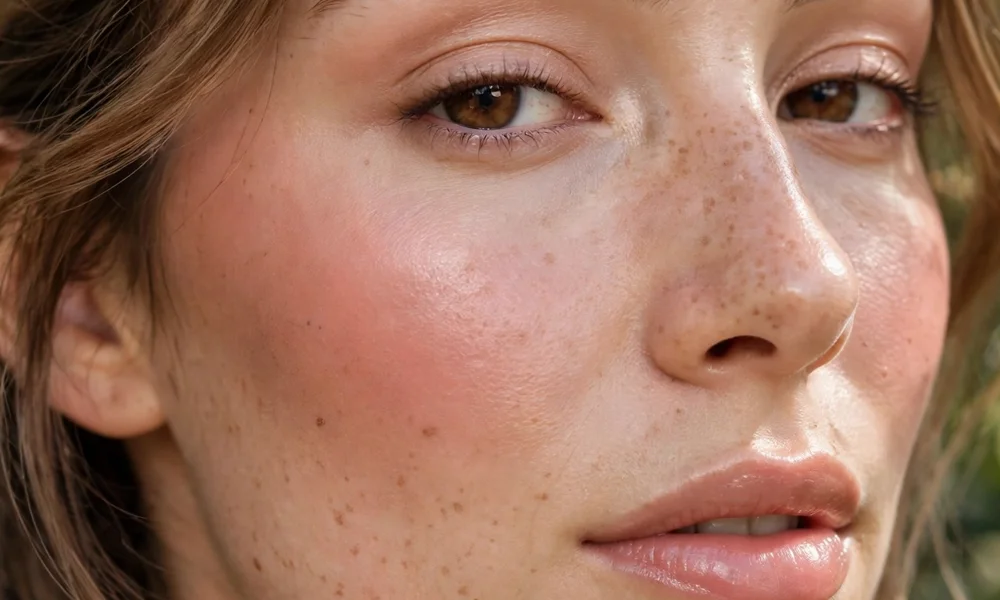
An under-eye blush placement creates a fresh, youthful look that works for everyday makeup and content shoots. Apply blush lightly under the eyes, on the high points of the cheeks, blended upward toward the temples.
Keep the blush very light at first, because the under-eye area is delicate and shows colour easily. Blend well, so the blush looks like a natural flush, rather than a harsh patch.
For a softer version, use a cream blush under the eyes, blended with a damp sponge, for a skin-like, dewy finish. Pair it with a nude lip and simple eye makeup, for a fresh, everyday look.
Blush Placement and Eye Makeup Balance
Blush placement works best when eye makeup is balanced. If your blush is bold, keep eye makeup softer for daytime, or go bold with lashes for a night look, but avoid too many bold elements at once.
For a full baddie look, combine lifted blush with false lashes and a bold lip. The baddie lashes guide on this site shows how false lashes pair with blush and a bold lip, because they balance the makeup without competing with the cheeks.
Keep brows defined but not overly heavy, so the blush and lashes remain the focal points. A clean brow shape frames the face and helps blush placement look intentional and polished.
How to Blend Blush Like a Pro
Blending matters more than product. Start with a small amount of blush, and build up gradually, because it is easier to add more blush than to remove too much. Blend in small, circular motions, so the colour looks seamless and natural.
Use the right tool for your blush formula. A fluffy brush blends powder blush softly, while a damp sponge blends cream and liquid blush more naturally. Avoid using a dense brush for blush, which can create harsh lines.
Blend the edges of blush well, so there is no harsh line where the blush stops. The blush should fade softly into your skin, creating a natural flush, rather than a visible patch of colour.
How to Choose Blush for Your Skin Tone
Choosing blush for your skin tone helps blush look natural and flattering. For fair skin, choose a soft pink or peach blush, applied lightly, so it looks like a natural flush rather than a harsh patch.
For medium skin, choose a warm peach, coral, or rose blush, applied medium in intensity, so it adds warmth and dimension without overpowering the skin.
For deep skin, choose a burgundy, berry, or deep coral blush, applied with a light hand at first, building up gradually, so the colour shows beautifully without looking patchy.
For all skin tones, test blush in natural daylight, rather than harsh indoor lighting, so you can see the true colour and intensity before committing to a full application.
Blush Placement for Different Face Shapes
For round faces, apply blush high on the cheekbones, angled upward toward the temples, to create a lifted, sculpted effect. Avoid applying blush on the apples of the cheeks, which can make the face look rounder.
For oval faces, apply blush on the cheekbones, blended slightly toward the ears, for a balanced, natural look. Oval faces can wear most blush placements well, so choose the placement that suits your makeup style.
For square faces, apply blush softly on the cheekbones, blended upward, to soften the jawline and add warmth. Avoid harsh, angular blush placement, which can emphasise the jaw.
For heart-shaped faces, apply blush on the cheekbones, blended toward the ears, avoiding the forehead and chin, to balance the wider forehead and narrower chin.
3 Mistakes to Avoid With Blush Placement
First, applying too much blush at once. A heavy hand with blush creates a patchy, overdone look that is hard to fix. Start light, build gradually, and blend well.
Second, placing blush too low on the cheeks. Blush placed too low can drag the face downward and make it look tired. Place blush high on the cheekbones, angled upward, for a lifted effect.
Third, skipping blending. Unblended blush creates harsh lines and patches, especially with powder blush. Blend the edges well, so the blush fades softly into your skin.
FAQs
How much blush should I apply?
Start with a small amount, and build up gradually, until you reach the intensity you want. It is easier to add more blush than to remove too much, especially with powder blush.
What blush colour is best for warm skin tones?
A warm peach, terracotta, or coral blush works beautifully for warm skin tones, because it adds warmth and complements the skin without looking harsh.
How do I make blush last all day?
Layer a cream blush under a powder blush, set your base makeup with powder, and finish with a setting spray, to help blush last through a full day or evening.
Can I wear blush with a bold lip?
Yes, blush pairs beautifully with a bold lip, if you keep the blush soft and balanced. The brown lip combo guide on this site shows how a brown lip pairs with warm blush for a balanced baddie look.